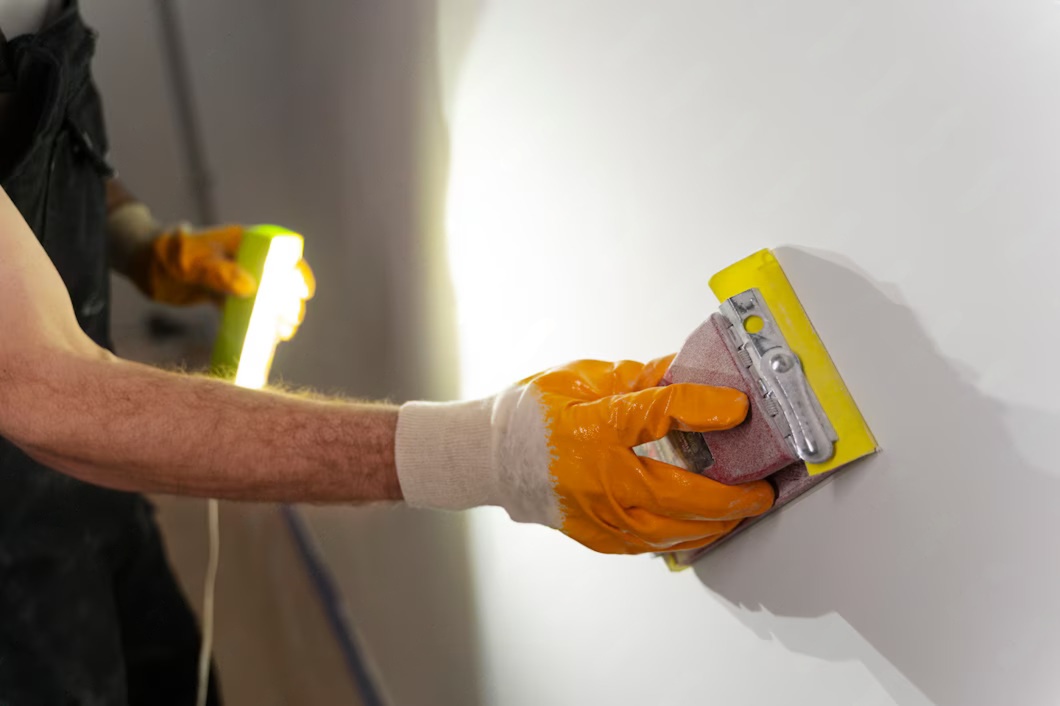
Before any paint goes on, plastering walls is the step that determines how a finished room will actually look and feel for years to come. Many homeowners underestimate this stage of a renovation, assuming it is simply about covering gaps or smoothing out old surfaces. In reality, the quality of the plaster work underneath has a direct impact on how straight your walls appear, how well they hold paint, and how long the finish lasts.
This guide walks through what wall plastering actually involves, the different finishing options available, and what to look for when choosing help for the job. Whether you are planning a full renovation or simply patching a few problem areas, understanding the basics of professional plastering services will help you make more informed decisions before work begins.
What Does Plastering Walls Actually Involve?
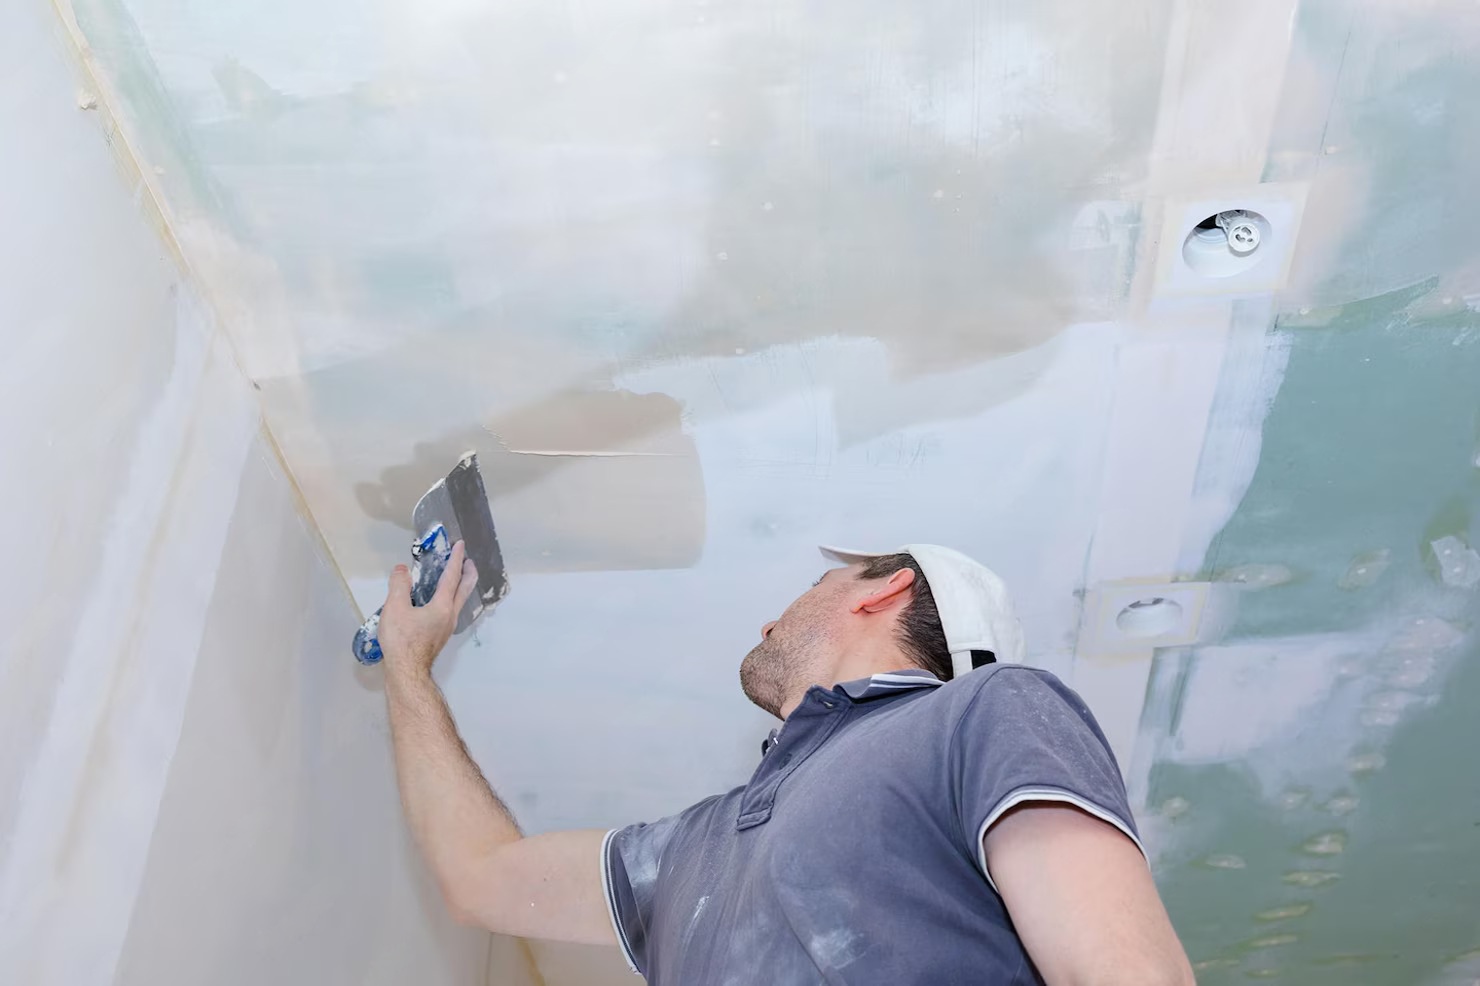
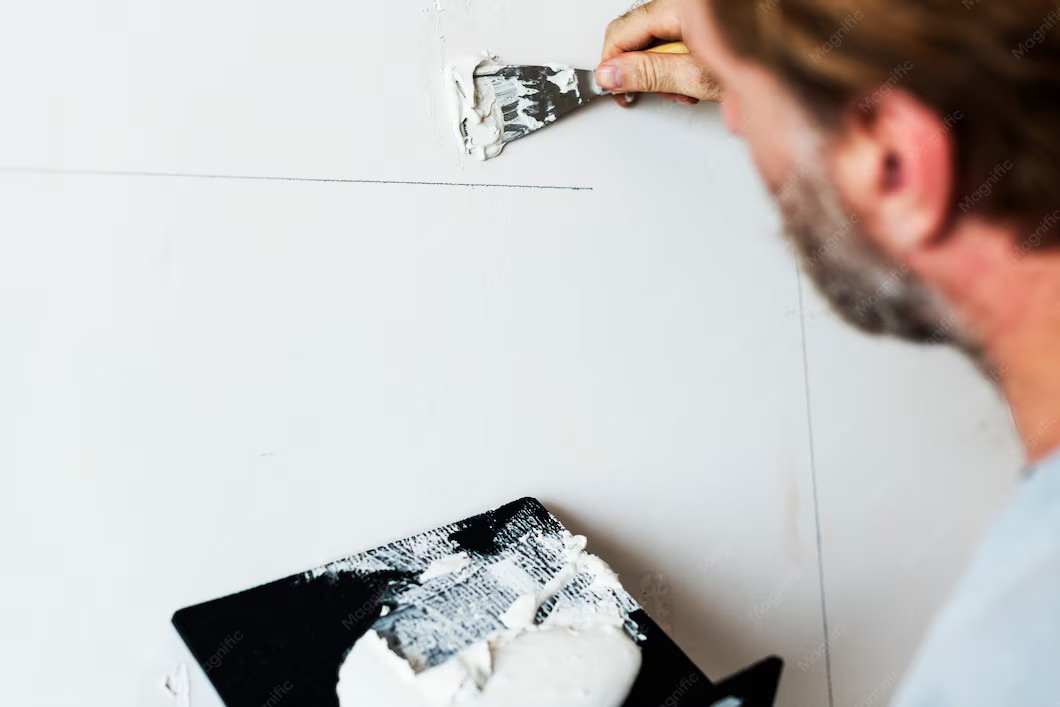
At its core, plastering is the process of applying a smooth, even layer of material over a wall or ceiling surface to prepare it for painting or further finishing. This can mean working over new plasterboard sheets, repairing damaged sections of an existing wall, or reskimming an older surface that has become uneven over time. Each scenario requires a slightly different approach, but the underlying goal is always the same: a flat, durable surface that will hold paint evenly.
The process typically involves several coats, each one thinner than the last, with sanding in between to remove imperfections. Getting this layering right takes both experience and patience, since rushing any stage can leave visible ridges, bubbles, or uneven texture once the paint goes on.
Why Preparation Matters More Than Most Homeowners Realise
Good plastering starts long before the first coat is applied. Surfaces need to be cleaned, cracks need to be addressed, and any structural movement in the wall needs to be understood before covering it up. Skipping this preparation stage is one of the most common reasons a finish fails prematurely.
Cleaning dust, grease, and old paint residue from the surface
Identifying and addressing any underlying cracks or movement
Applying a suitable primer or bonding agent where needed
Allowing adequate drying time between coats
Why Wall Finishing Quality Matters Before You Renovate
It can be tempting to rush through the plastering stage of a renovation, especially when you are eager to see paint on the walls. However, poor quality wall finishing tends to show up clearly once light hits the surface, particularly under downlights or natural sunlight streaming through windows. Bumps, trowel marks, and uneven texture become far more noticeable once a fresh coat of paint highlights every imperfection.
Beyond appearance, a properly finished wall also performs better over time. A well-prepared surface resists cracking, holds paint more evenly, and is far easier to repair down the track if damage occurs. Investing the time and attention into this stage pays off well beyond the day the painters finish up.
A smoother finish reflects light more evenly across the wall
Properly cured plaster is less prone to future cracking
Even surfaces make future repairs simpler and less noticeable
Quality preparation extends the lifespan of your paint job
Common Plaster Finishes Used in Home Renovations
Not all plaster finishes look or perform the same way, and choosing the right one often depends on the style of the home and the room being renovated. Some homeowners prefer a completely smooth, seamless surface, while others lean toward a textured finish that adds character to a space. Understanding these options before renovating helps set clearer expectations with whoever is doing the work.
Smooth Set vs Textured Finishes
A smooth set finish is the most common choice for modern interiors, offering a clean, flat surface that suits most paint colours and lighting setups. Textured finishes, on the other hand, can help disguise minor surface imperfections and add visual interest to feature walls or older-style homes.
Smooth set finishes suit contemporary interiors and feature lighting
Textured finishes can help mask minor surface irregularities
Wall skimming is often used to refresh older, uneven plaster
The right choice usually depends on the room’s overall style
Plasterboard vs Traditional Solid Plastering
Many renovations today rely on plasterboard rather than traditional solid plaster, largely because it offers a faster, more consistent base to work with. Plasterboard sheets are fixed to the wall frame and then finished with jointing compound and a final skim coat, creating a smooth surface ready for paint. This method has become the standard for most residential builds and renovations across Australia.
That said, solid plastering still has its place, particularly in older homes or heritage-style properties where matching existing walls is a priority. For newer builds or full room renovations, plasterboard installation is usually the more practical and efficient option, especially when working around tight renovation timelines.
Plasterboard offers a faster, more predictable installation process
Solid plastering suits older homes needing a matching finish
Both methods can achieve a smooth, paint-ready surface
The right choice often depends on the age and style of the home
When to Call Plasterers Gold Coast Homeowners Trust
Some plastering issues are obvious, such as large cracks or sections of wall that have started to crumble. Others are more subtle, like hairline cracks around doorframes or slightly uneven patches that only become visible under certain lighting. Knowing when to bring in professional help can save you from bigger problems later on.
If you notice recurring cracks, water staining, or areas where the plaster feels soft or hollow when tapped, it is usually worth getting these assessed sooner rather than later. Our team regularly handles plaster repairs for homeowners dealing with exactly these kinds of issues before a larger renovation begins.
Cracks that keep reappearing after being painted over
Soft, bubbling, or hollow-sounding sections of wall
Visible water staining or discolouration on plaster surfaces
Uneven patches that catch the light differently to the rest of the wall
Gyprock Installation and Its Role in Modern Renovations
Gyprock has become a household name for plasterboard products across Australia, and many renovation projects specifically call for this type of sheeting due to its consistency and ease of finishing. Installing it correctly involves careful measuring, secure fixing to the frame, and precise joint taping before any plaster finishing takes place.
Getting this stage right is essential, since poor sheet alignment or weak joints can lead to visible seams once paint is applied. Our team’s approach to gyprock installation focuses on getting these foundational details right the first time, which makes the final finishing stage far more straightforward.
Accurate sheet measuring and cutting for a clean fit
Secure fixing to prevent movement or sagging over time
Careful joint taping to avoid visible seams after painting
A stable base that supports a smoother final finish
Ceiling Considerations During a Wall Renovation
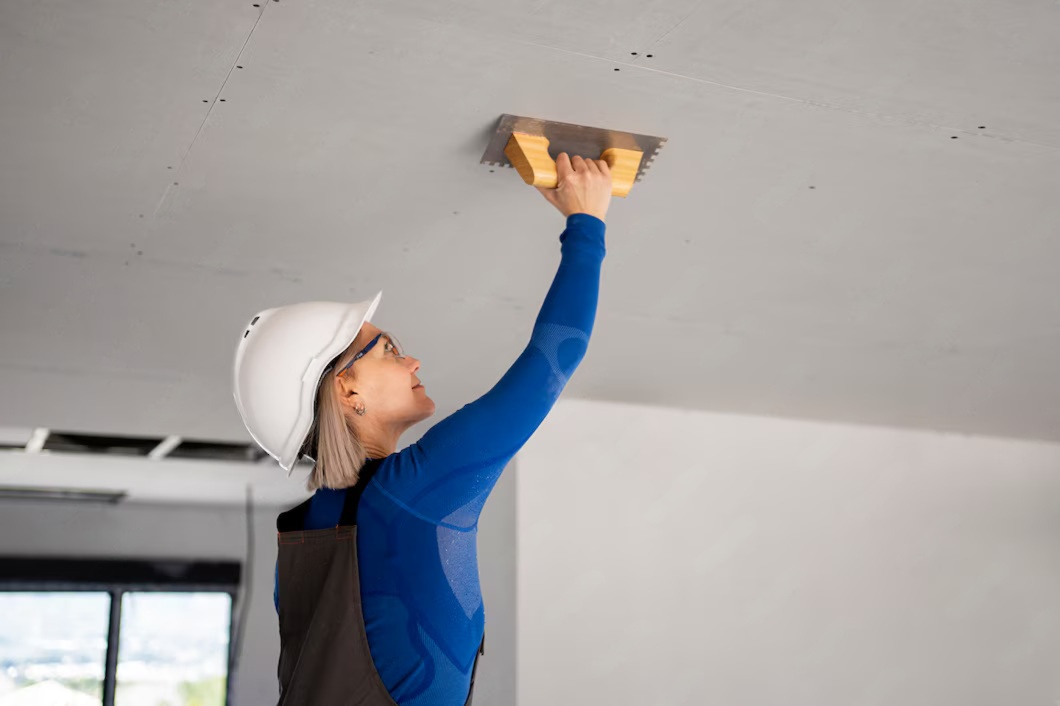
While walls tend to get most of the attention during a renovation, ceilings are often affected by the same underlying issues, particularly in older homes. Cracks, sagging sections, or water damage on a ceiling can sometimes be connected to broader structural movement that also shows up on nearby walls, which is why both areas are worth assessing together.
Addressing ceiling issues alongside wall work also helps avoid the frustration of finishing one area only to discover a related problem overhead shortly after. If your renovation involves any visible ceiling damage, it is worth having ceiling plaster repairs assessed at the same time as your wall plastering to keep the whole project moving efficiently.
Cracks near cornices can indicate shared wall and ceiling movement
Water stains often point to issues worth addressing before painting
Sagging sections should always be assessed before covering with paint
Combining ceiling and wall work can streamline your renovation timeline
Choosing the Right Plasterer Gold Coast Wide
With so many trades involved in a renovation, choosing the right plasterer can feel like just one more decision on a long list. However, this choice tends to have an outsized impact on how the finished space actually looks and performs. A skilled plasterer brings attention to detail that is difficult to notice until the work is already complete.
Before committing to anyone for the job, it helps to ask a few clarifying questions about their process, experience, and how they handle unexpected issues that come up mid-project.
Ask how many coats and sanding stages are included in their process
Check whether they have experience with your specific finish type
Confirm how they handle unexpected repairs discovered mid-job
Look into how long they have been working in the local area
Conclusion
Plastering walls properly is one of the most important steps in any renovation, even though it rarely gets the same attention as paint colours or new fixtures. From choosing the right finish to addressing underlying issues before they become bigger problems, the preparation and quality of this stage shapes how your finished space will look and hold up over time. Taking the time to understand your options now can save you from costly rework further down the track.
If you are planning a renovation on the Gold Coast and want the wall and ceiling work done properly the first time, Magic Mud Plastering is ready to help bring your project to life. Our team takes the time to get every coat, joint, and finish right, so you are left with results that last. Get in touch and contact our team today to discuss your renovation and take the next step toward beautifully finished walls.
Frequently Asked Questions
1. How long does it take to plaster a room?
Timeframes vary depending on the size of the room, the number of coats required, and drying time between applications. Smaller patch jobs can often be completed within a day, while full room plastering may take several days to allow for proper curing. Your plasterer can give you a more accurate estimate once they have assessed the scope of work.
2. Can plastering walls fix cracks permanently?
Plastering can repair visible cracks, but whether the fix is permanent depends on what caused the crack in the first place. If the crack is related to ongoing structural movement, it may reappear over time unless the underlying cause is addressed. A proper assessment beforehand helps determine the right long-term approach.
3. Do I need to prime walls before plastering?
In most cases, a suitable primer or bonding agent is recommended before plastering, particularly over previously painted or uneven surfaces. This helps the plaster adhere properly and reduces the risk of cracking or peeling later on. Your plasterer will advise on the right preparation based on your wall’s condition.
4. What is the difference between plastering and rendering?
Plastering typically refers to interior wall and ceiling finishes, while rendering is generally used for exterior surfaces exposed to weather. Both processes involve applying material to create a smooth, even surface, but the products and techniques used often differ. It is worth confirming which service you actually need before starting.
5. Is plasterboard installation better than solid plastering?
Neither option is universally better, since the right choice depends on the project. Plasterboard tends to suit newer builds and faster renovation timelines, while solid plastering is often preferred in older or heritage-style homes. A professional can help you decide based on your specific renovation goals.
6. How do I know if my walls need repairs before renovating?
Signs like recurring cracks, soft or hollow-sounding sections, and visible water staining usually indicate underlying issues worth addressing. Ignoring these signs before renovating can lead to problems reappearing shortly after painting. Having your walls assessed early helps avoid unnecessary rework later in the project.