Fresh paint can make an older home feel brand new. However, it cannot hide what sits underneath. Quality ceiling plastering is what keeps a painted ceiling smooth, stable and good-looking for years. Hairline cracks, sagging sheets and stubborn stains will reappear through new paint within months if the surface is not prepared properly.
This guide explains why older homes often need ceiling restoration before painting. You will learn how to spot early warning signs, what proper repairs involve and why skipping this step leads to disappointing results. Whether you own a weatherboard cottage or a brick home from the seventies, the advice below will help you plan with confidence.
Why Ceiling Plastering Matters in Older Homes
Older homes were built with different materials and methods from those used today. Many ceilings were fitted with lath and plaster, fibro sheets or early plasterboard. Over the decades, these surfaces move, absorb humidity and lose their grip on the framing. Good ceiling plastering restores a flat, stable surface that paint can bond to properly. Without that foundation, even premium paint will peel, crack or show every ripple under the light.
Older ceilings commonly develop these issues:
Cracks along joins and cornices caused by natural house movement
Loose or bubbling plaster where the original adhesive has failed
Sagging sections that pull away from the ceiling joists
Poorly blended patches from earlier repairs
Water stains left behind by old roof or plumbing leaks
Painting over any of these problems only covers them for a short time. The underlying fault keeps getting worse.
Warning Signs Your Ceiling Needs Restoration
Most ceiling problems start small and grow slowly, which makes them easy to ignore. A thin crack or a faint yellow mark may seem harmless at first. Yet these small changes are often early signs of movement, moisture or a failing bond. Checking your ceilings once or twice a year helps you catch trouble before it spreads. Look at them in natural light, because shadows reveal ripples and dips that normal room lighting hides.
Cracks and Stains
Cracks come in several forms, and each one tells a different story. Fine hairline cracks usually come from normal seasonal movement. Wider or spreading cracks can point to structural shifts or damaged joins. Stains are another clue, as they often mean water has reached the plasterboard. A brown ring with a darker edge suggests repeated wetting rather than a single leak.
Hairline cracks that return after painting
Long cracks running across the full width of a room
Yellow or brown patches that grow over time
Sagging and Bulging
Sagging is the most serious warning sign. It happens when plaster loses its hold on the framing or when moisture softens the sheet. You may notice a gentle dip, a visible bulge or a sheet that sounds hollow when tapped. Sagging areas can become unsafe if ignored, so they call for prompt ceiling plaster repairs by a licensed tradesperson.
Dips or waves that catch the light
Gaps between the ceiling and the cornice
Loose sections that move when pressed lightly
How to Fix a Sagging Plaster Ceiling Safely
Many homeowners ask whether they can fix a sagging plaster ceiling themselves. In most cases, this is a job for a trained tradesperson. The ceiling may be heavy and awkward to handle, and the cause of the sag must be found before any repair begins. A proper repair looks at the sheet, the fixings and the framing above. If only the surface is patched, the sag usually returns. Experienced tradespeople follow a careful process to get lasting results.
A thorough repair generally includes these steps:
Inspecting the roof space for leaks, insulation issues and loose framing
Supporting the ceiling and removing any damaged sections
Refixing sound plaster with fresh screws into solid framing
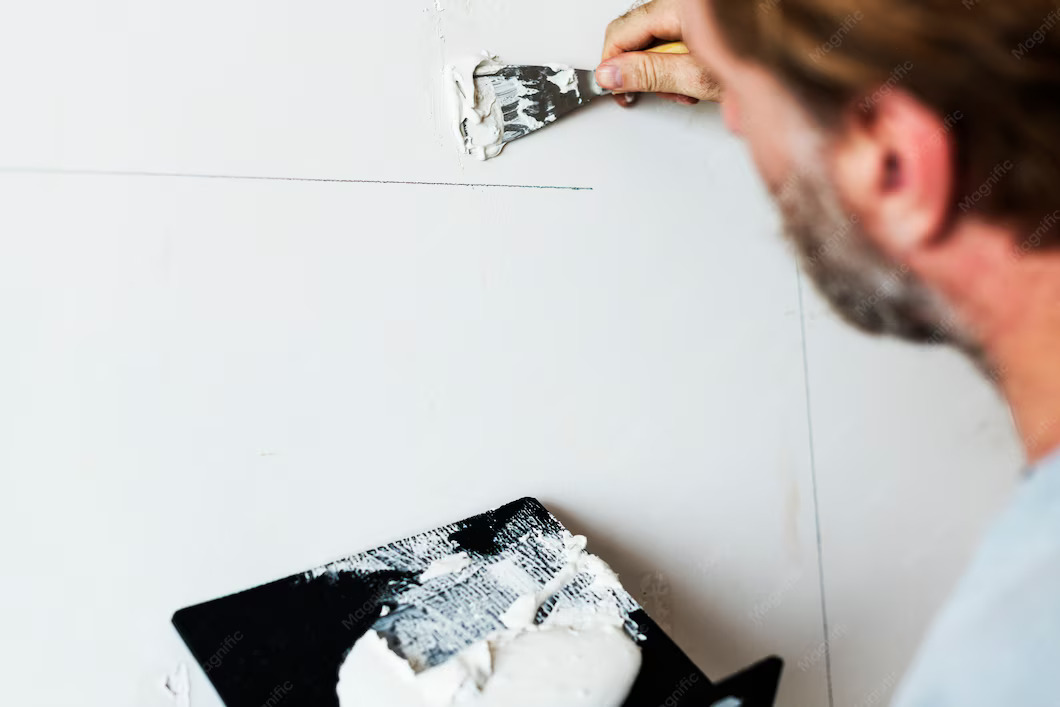
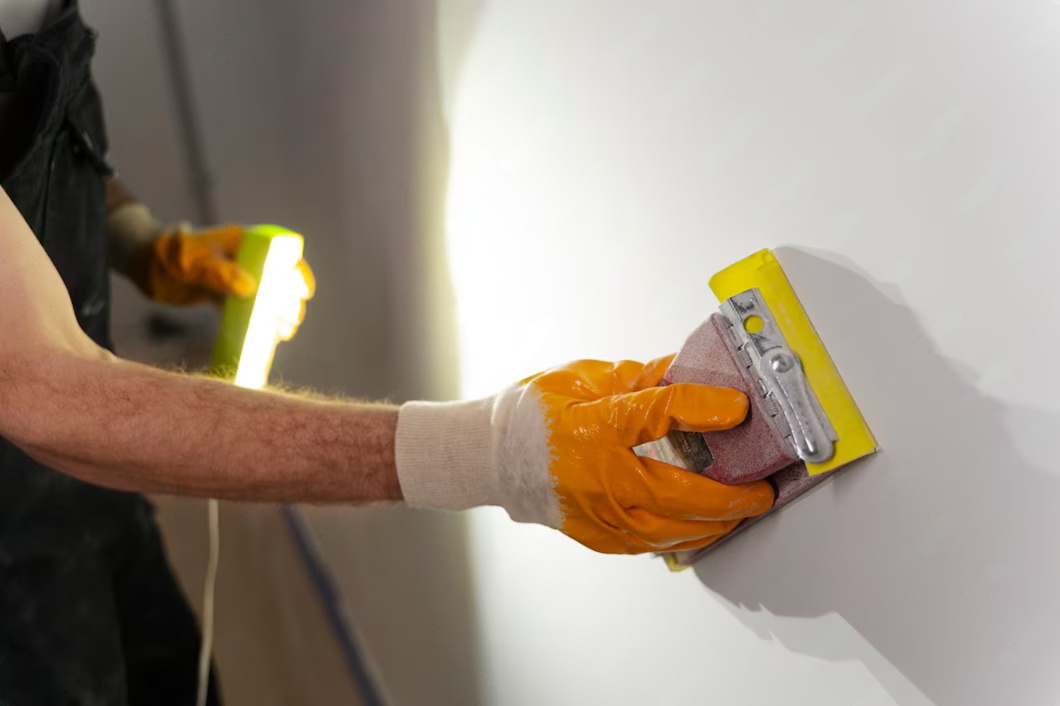
Filling, setting and sanding the repaired area until it is smooth
Once the surface is flat and dry, it is ready for sealing and painting. Rushing these steps is the most common reason repairs fail.
Moisture, Mould and Hidden Damage
The Gold Coast climate brings heat, humidity and heavy summer storms. These conditions are tough on older ceilings, particularly where roof tiles have shifted or vents are blocked. Moisture soaks into plasterboard, softens the sheet and creates the perfect setting for mould. Dark spots or a musty smell are strong signs that damp has been present for some time. Painting over mould does not remove it, and the spores keep growing beneath the new coat.
If you suspect dampness, consider these points before repainting:
Find and stop the source of moisture first
Have affected areas assessed by professional mould removal experts
Replace any plaster that has become soft or crumbly
Allow the ceiling to dry fully before any repair work begins
Treating the cause and the damage together is the only way to protect your home and your family’s health.
Why Ceiling Resurfacing Must Come Before Painting
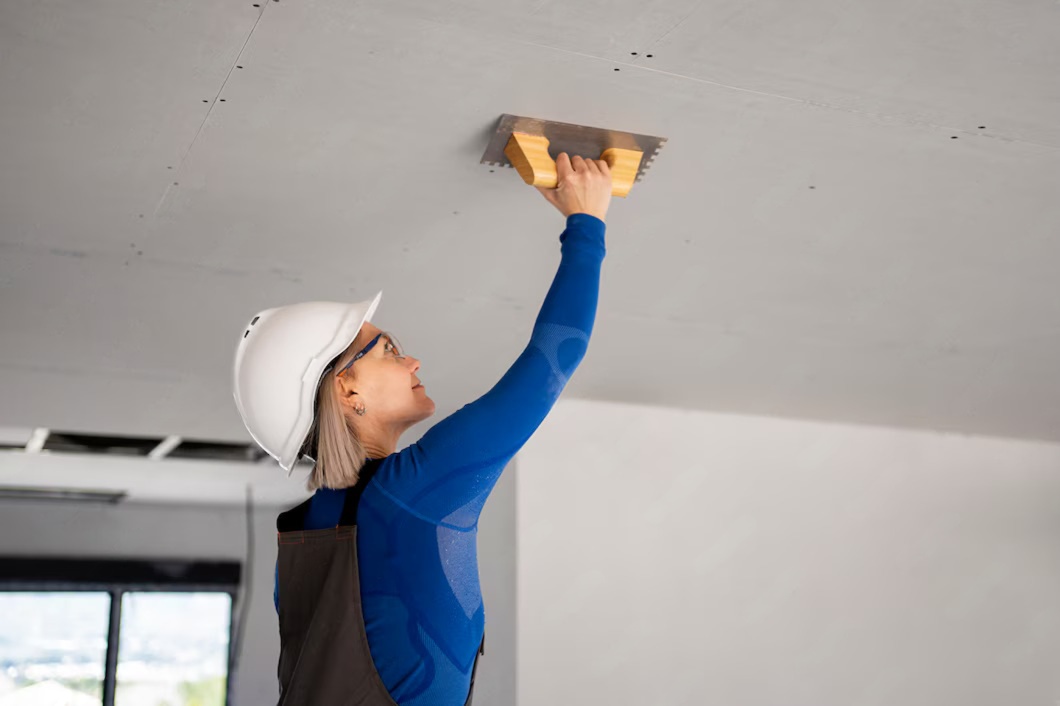
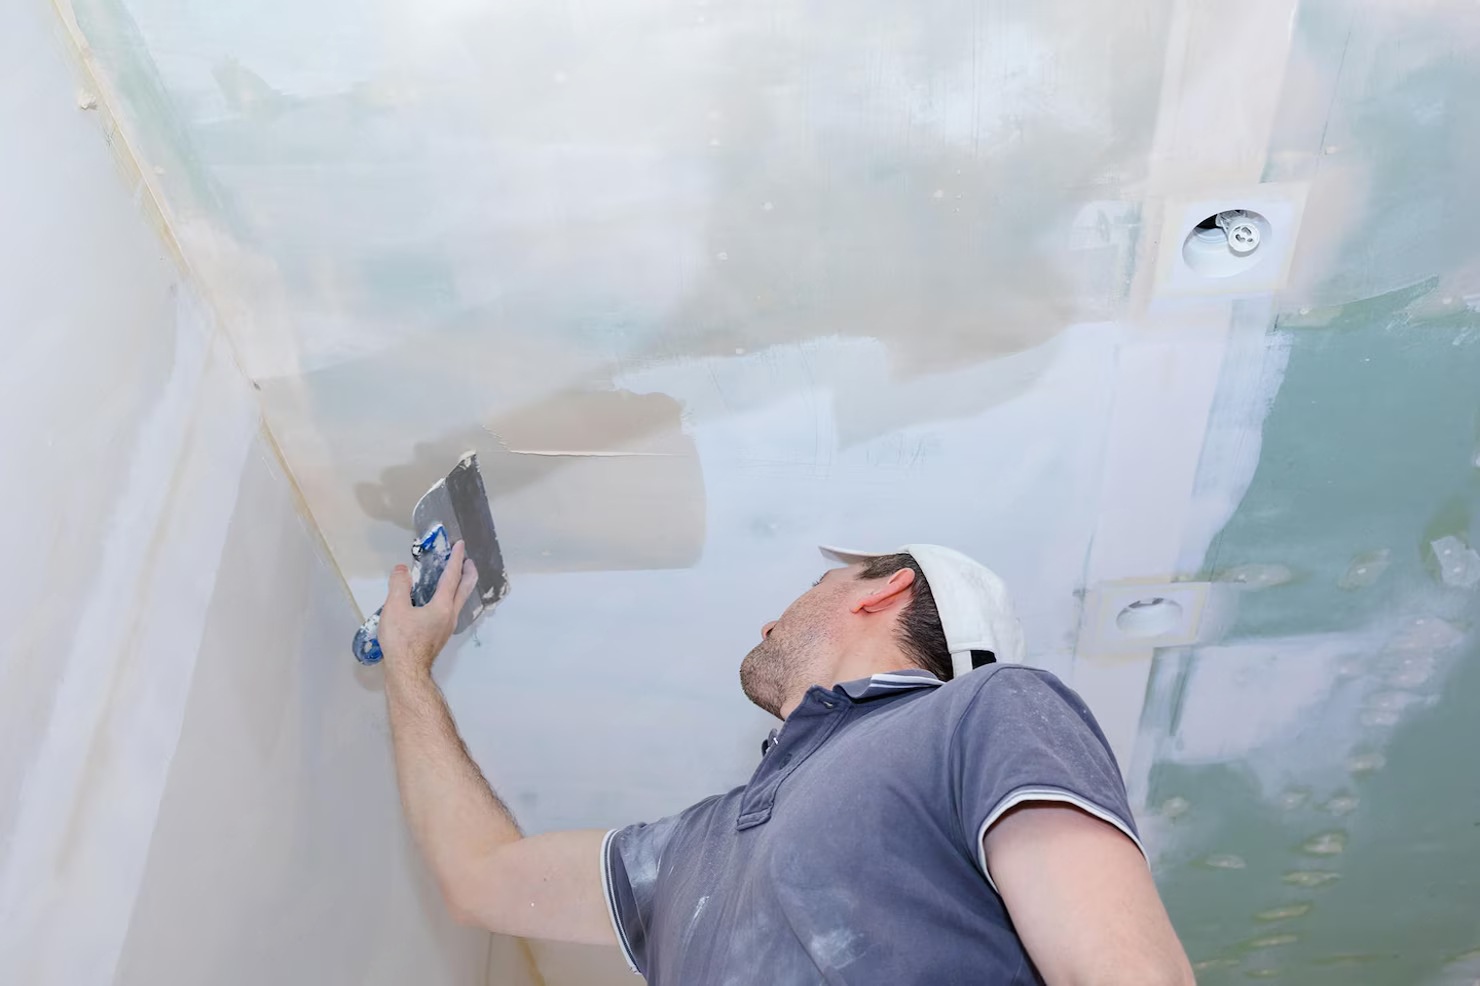
Ceiling resurfacing creates the smooth, even canvas that paint needs to look its best. Older ceilings often have uneven textures, old paint layers and patchy repairs. Paint highlights these flaws rather than hiding them, especially in rooms with large windows. Resurfacing levels the whole ceiling so the finish looks consistent from every angle. It also seals tiny cracks that would otherwise open up again.
Resurfacing before painting offers several clear benefits:
A flatter, cleaner finish that looks professionally done
Better paint adhesion, which reduces flaking and peeling
Fewer coats needed once the surface is properly prepared
A longer-lasting result that holds up through humid Gold Coast summers
Skipping this step often means repainting sooner than expected. Preparation may seem like extra work, but it protects your investment in the paint itself.
When Repairs Are Not Enough
Sometimes a patch or a resurfacing job simply will not do. If large sections of the ceiling are soft, water-damaged or badly cracked, replacement is the smarter choice. Old lath and plaster ceilings, for example, can become dangerously heavy and brittle. Replacing them with modern sheeting gives a stronger, lighter and more stable surface. A licensed plasterer can assess the condition on site and recommend the best approach.
Replacement is worth considering in these situations:
More than one third of the ceiling shows damage
The original sheets are too weak to hold new fixings
Previous repairs have failed more than once
Asbestos-era materials need to be dealt with safely
In these cases, professional gyprock installation provides a fresh, even base that is ready for finishing and paint.
Plaster Ceiling Restoration and Decorative Ceiling Repairs
Many older homes have charming features such as ornate cornices, ceiling roses and detailed mouldings. These details give a home its character, so careful plaster ceiling restoration aims to keep them wherever possible. Cracked or chipped decorative work can often be repaired rather than removed. Skilled tradespeople clean the details, rebuild missing sections and blend the repair into the original design. The result keeps the period charm while giving you a sound ceiling.
Cornices and Ceiling Roses
Cornices often crack where they meet the wall or ceiling. Decades of paint can also clog the fine detail, making the pattern look soft and blurred.
Careful cleaning to reveal sharp original detail
Rebuilding chipped or missing sections
Refixing loose pieces to prevent falling
Blending Old and New Work
Good decorative ceiling repairs should be almost invisible once finished. Skilled tradespeople match the texture, profile and level of the surrounding surface. That way, your ceiling looks original rather than patched.
Ceiling Maintenance Tips for Older Homes
Regular ceiling maintenance keeps small problems from turning into major repairs. Older homes benefit most, because their materials have already been through decades of wear. A simple routine helps you notice changes early. Small cracks are far easier to fix when caught early, and prompt plaster repairs stop them from spreading. Good ventilation also reduces the humidity that causes so much damage in coastal homes.
Try building these habits into your yearly home care:
Inspect ceilings twice a year, especially after storm season
Repair roof leaks and blocked gutters straight away
Use exhaust fans in bathrooms and kitchens
Keep roof vents clear and insulation dry
Book a professional check if you notice new cracks or stains
What to Look for in Ceiling Repair Specialists
Choosing the right ceiling repair specialists makes a big difference to the final result. Older homes present unique challenges, so experience matters. A good tradesperson listens to your concerns, inspects the whole ceiling and explains what caused the damage. They should also be honest about whether a repair or a replacement is the better option. Clear communication and tidy work practices are signs of a professional team.
When speaking with a tradesperson, consider these questions:
Do they hold the correct licence for building work in Queensland?
Do they have experience with older homes and decorative plaster?
Will they identify the cause of the damage, not just the symptoms?
Do they protect your floors and furniture during the job?
Do they provide a clear written quote for the work involved?
Conclusion
Painting an older ceiling without proper preparation is like laying new carpet over a damaged floor. It may look good for a short while, but the problems underneath will return. Ceiling plastering, resurfacing and careful repairs create the sound foundation that paint needs. They also protect your home from moisture, mould and safety risks. Taking care of the ceiling first saves you time, effort and repeat work in the long run.
If your older home needs ceiling restoration, Magic Mud Plastering is ready to help. Our Gold Coast team has more than ten years of experience and is QBCC licensed. Request a quote today. Let us prepare your ceilings properly, so your fresh paint looks great for years to come.
Frequently Asked Questions
1. Why should I restore my ceiling before painting?
Paint only coats the surface, so it cannot fix cracks, sagging or stains underneath. These problems reappear through the new finish within months. Restoring the ceiling first gives you a smooth, stable base. The paint then looks better and lasts far longer.
2. Can I paint over a water-stained ceiling?
It is best not to. The stain usually returns through the paint, and the plaster underneath may be damaged. The source of the leak must be fixed first. Once the ceiling is dry and repaired, it can be sealed and painted properly.
3. How do I know if my ceiling is unsafe?
Warning signs include visible sagging, large bulges, widening cracks and plaster that sounds hollow. Wet or crumbling sections are also a concern. If you notice any of these signs, keep people away from the area. Call a licensed plasterer to inspect it promptly.
4. Can decorative cornices and ceiling roses be repaired?
Yes, in most cases they can. Skilled tradespeople clean, rebuild and refix damaged details so they match the original design. This preserves the character of your older home. Replacement is only needed when the damage is too severe.
5. How long does ceiling restoration usually take?
It depends on the size of the ceiling and the type of damage. Small repairs can often be finished in a day. Larger jobs need extra time for setting, drying and sanding between coats. A proper inspection will give you a realistic timeframe.