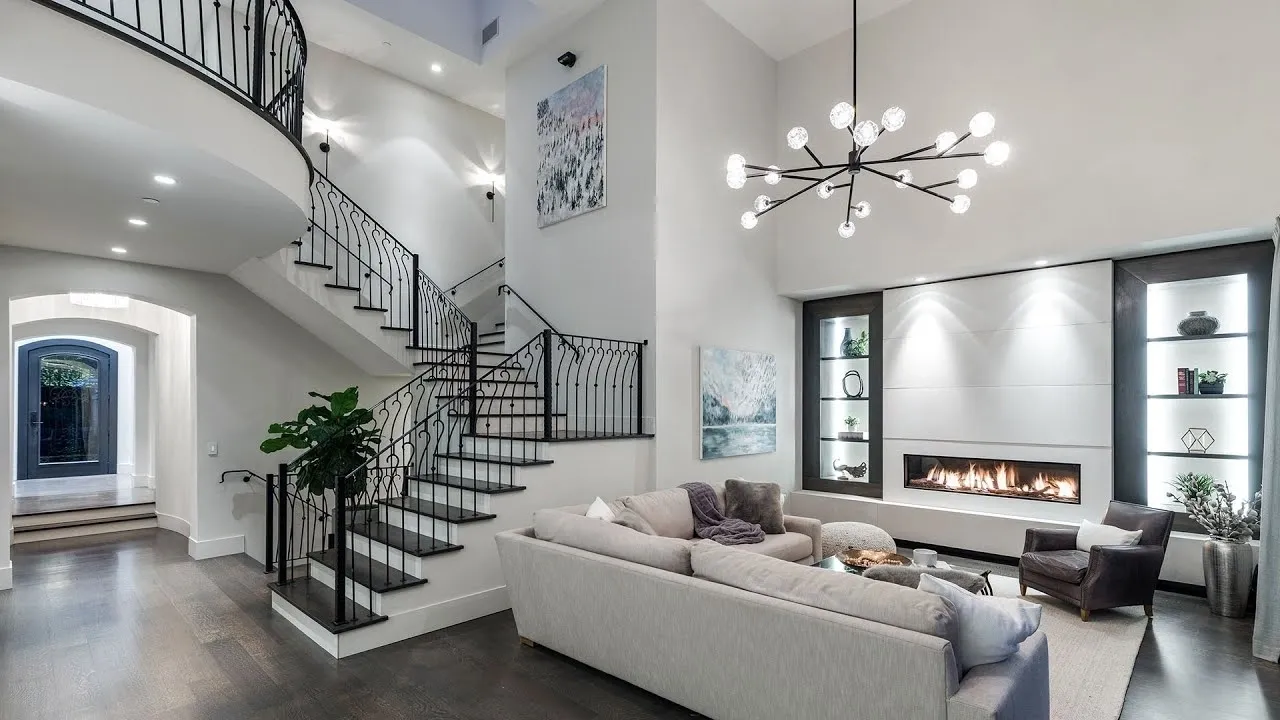
When renovating or building a home, most people focus on big design elements like flooring, paint colours, or cabinetry. Yet one detail that significantly influences the look and feel of a space is the ceiling finish.
Two of the most common ceiling finishing options in Australian homes are cornice and squareset. Both methods connect the wall and ceiling, but they create very different visual results. Choosing between them can affect the overall style of your home, particularly in modern Gold Coast properties where coastal design and contemporary interiors are popular.
If you are deciding between cornice vs squareset, understanding the differences, benefits, and design impact can help you make the right choice for your renovation or new build.
This guide explains how each option works and which one best suits modern homes in the Gold Coast region.
Understanding Ceiling Finishing Options
Before comparing styles, it helps to understand what these finishes actually do.
A ceiling finish is the transition where the wall meets the ceiling. This junction needs to be sealed and finished to create a smooth appearance and hide plasterboard joints.
The two most common finishing methods are:
Cornice finish
- Uses a decorative moulding installed along the ceiling edge
- Creates a curved or shaped transition between wall and ceiling
- Often adds architectural character
Squareset finish
- Creates a sharp, clean angle where the ceiling meets the wall
- No moulding is used
- The plasterboard is finished flush with a crisp edge
Both styles are widely used in Australian homes, but each delivers a completely different design outcome.
What Is a Cornice Finish?
A cornice is a decorative molding that sits between the wall and ceiling. It is usually made from plaster or lightweight materials and comes in a variety of shapes and sizes.
Cornices have been used in Australian homes for decades and remain a popular option because they are practical and visually appealing.
Common cornice styles
Cornices can vary from simple to highly decorative. Some popular options include:
- Cove cornice
A smooth curved shape that works well in most homes. - Stepped cornice
Features geometric edges for a slightly modern look. - Decorative cornice
Includes detailed patterns that suit traditional or classic interiors.
In Gold Coast homes, simple cornice designs are often preferred because they complement relaxed coastal interiors.
Benefits of Cornice Finishes
Cornices remain popular for many reasons. They combine practicality with design flexibility.
1. Easier installation
Cornices are generally easier and faster to install than squareset finishes. The moulding hides small imperfections where the wall and ceiling meet, which simplifies the finishing process.
2. Cost effective option
Because installation is quicker and less labour intensive, cornices are usually more affordable than squareset finishes.
For homeowners working with renovation budgets, this can be an important advantage.
3. Softens interior spaces
The curved transition of a cornice softens the junction between the wall and ceiling. This creates a more relaxed look that suits many home styles.
4. Works well in coastal homes
Many Gold Coast homes feature casual and comfortable interiors. Cornices can complement this aesthetic by adding subtle detail without overwhelming the space.
5. Hides movement cracks
Homes naturally move over time due to temperature changes and settling. Cornices help conceal minor cracks that may develop at the wall ceiling joint.
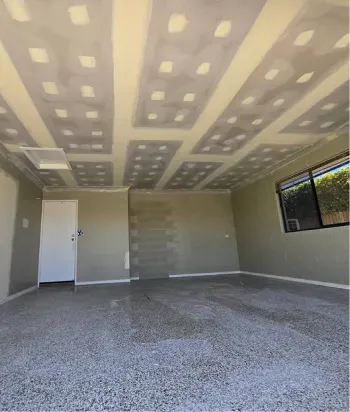
What Is a Squareset Finish?
A squareset finish creates a sharp 90 degree angle between the wall and ceiling without any moulding. Instead of installing a cornice, plasterers carefully finish the plasterboard edges to form a clean and crisp corner.
This technique requires precision and experience to achieve a smooth, seamless result. Squareset ceilings are commonly used in modern homes where clean lines and minimalist design are important.
Benefits of Squareset Finishes
Squareset finishes are increasingly popular in contemporary home design, especially in architecturally styled properties.
1. Clean modern appearance
Squareset ceilings create a sleek and minimalist aesthetic. The sharp lines make rooms feel contemporary and uncluttered.
This style pairs perfectly with modern interior styles that prioritise simplicity.
2. Ideal for minimalist interiors
If your home features modern furniture, open spaces, and neutral colour palettes, a squareset ceiling complements the design beautifully. Minimalist interiors often rely on subtle details rather than decorative mouldings.
3. Creates a seamless look
Without a cornice breaking the wall line, the room appears more streamlined. This helps ceilings look taller and spaces feel more open.
4. Popular in architectural homes
Many newly built Gold Coast homes incorporate modern architecture with large windows and open plan layouts. Squareset finishes enhance these contemporary features.
5. Perfect for modern lighting designs
Squareset ceilings work well with recessed lighting, LED strip lighting, and modern ceiling designs.
Cornice vs Squareset: Key Differences
When choosing between cornice vs squareset, several factors should be considered including style, cost, and maintenance.
Feature | Cornice | Squareset |
Appearance | Decorative transition | Clean sharp edge |
Style | Traditional or transitional | Modern and minimalist |
Installation | Easier and faster | Requires precision plastering |
Cost | Usually more affordable | Slightly higher labour cost |
Maintenance | Hides minor cracks | May require more maintenance |
Both options can look excellent when professionally installed. The best choice often depends on the design style of the home.
Which Style Works Best for Gold Coast Homes?
The Gold Coast features a mix of architectural styles including coastal, contemporary, and modern Australian homes. Choosing the right ceiling finish should complement the overall design of the property.
Coastal style homes
Coastal interiors are relaxed, airy, and welcoming. They often use light colours, natural textures, and open spaces. Simple cornices can work beautifully in these homes because they soften the interior and add subtle character.
However, squareset ceilings are also becoming popular in modern coastal homes that favour minimalist styling.
Modern new builds
Many new homes in the region feature sleek designs and open floor plans. Squareset ceilings suit these modern properties particularly well. They enhance the clean lines of contemporary architecture.
Renovated homes
If you are renovating an older home, matching the original design style may be important. Cornices can help maintain the character of the home while still updating the interior.
Design Tips for Choosing the Right Ceiling Finish
Selecting the right finish is not just about trends. It should also align with the design goals of your home.
Consider the overall interior style
Minimalist interiors usually benefit from squareset ceilings. Homes with more decorative elements may suit cornices better.
Think about ceiling height
Squareset ceilings can make rooms appear slightly taller because there is no moulding interrupting the wall line.
Balance with other design features
If your home includes decorative skirting boards, wall panelling, or traditional features, cornices may create better balance.
Work with experienced plasterers
Professional plastering is essential for achieving high quality finishes, particularly with squareset ceilings that require precise workmanship.
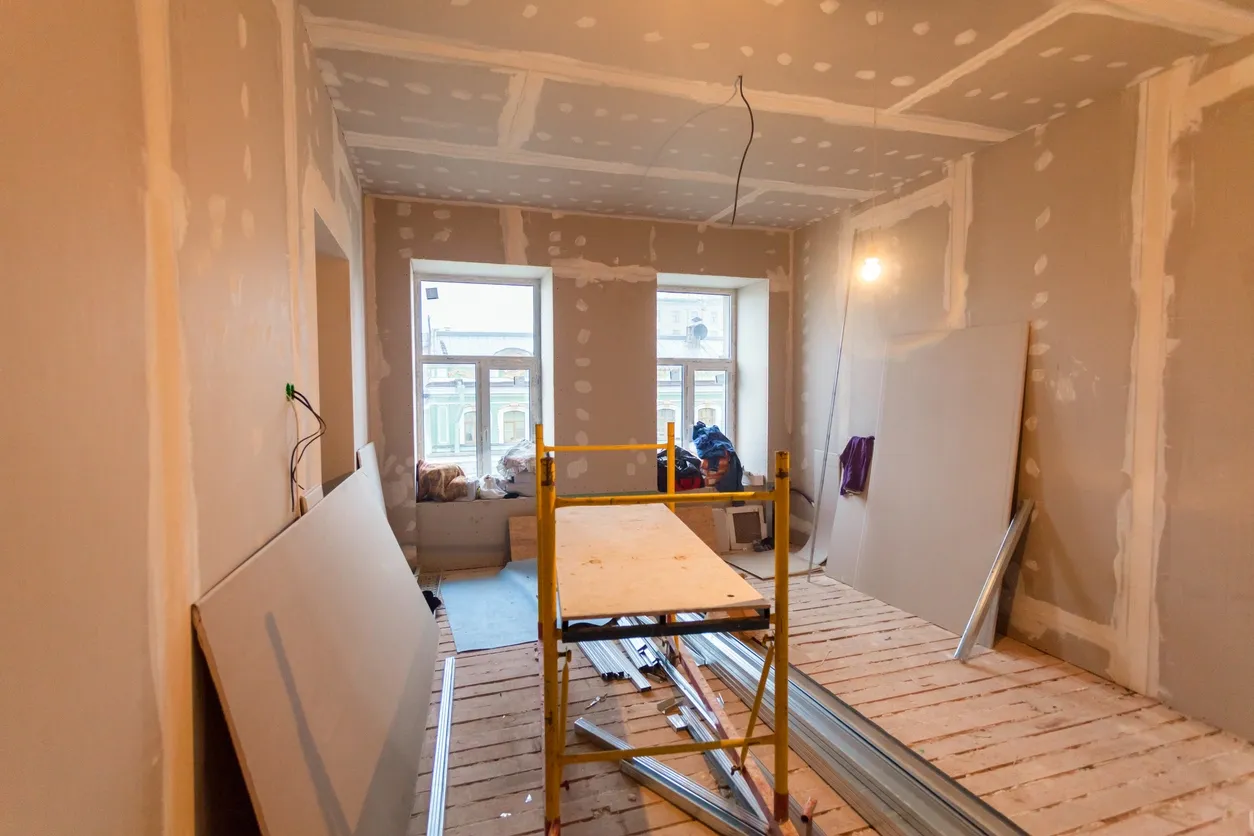
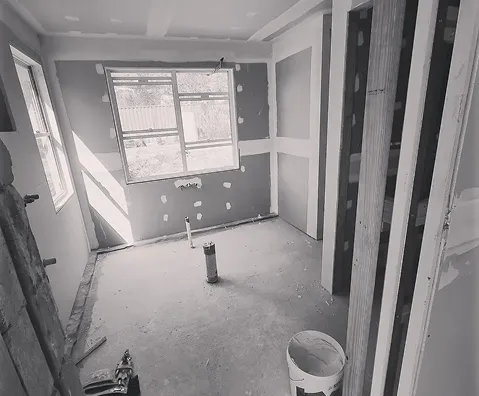
Installation Considerations
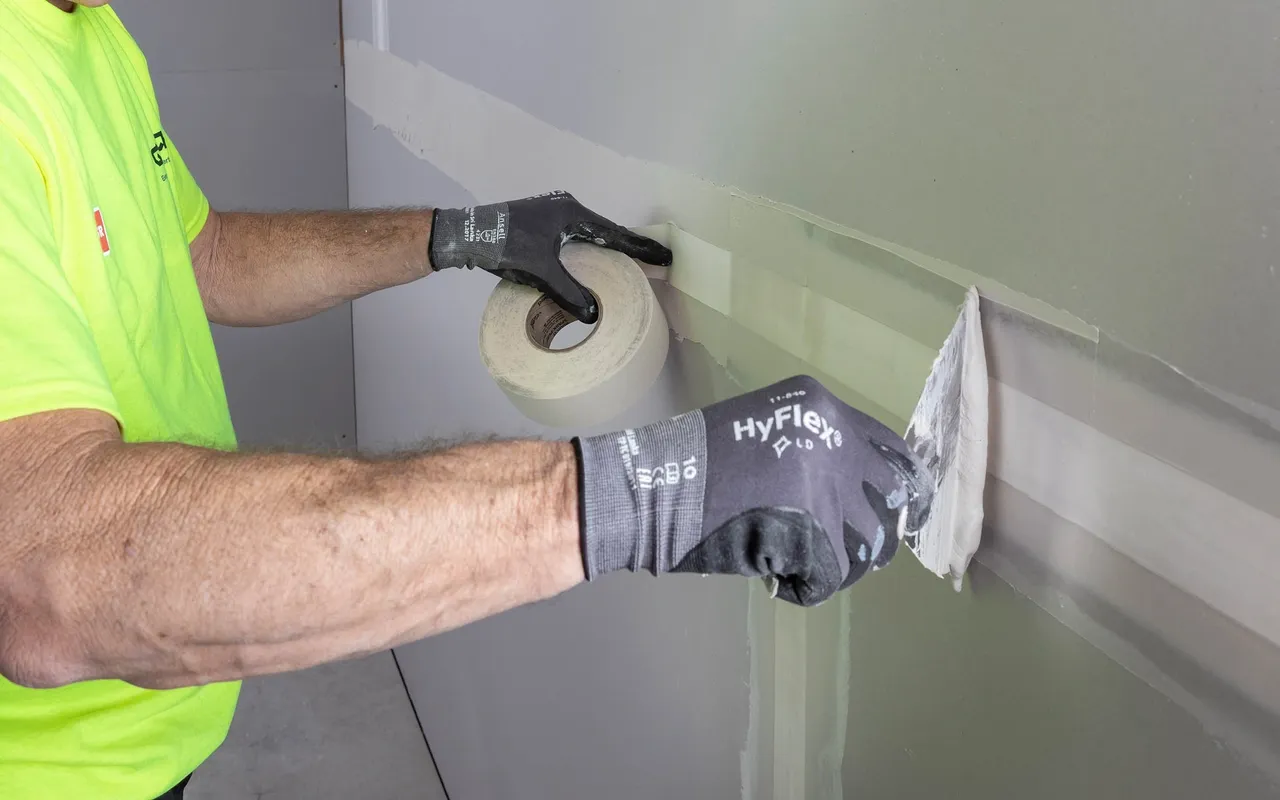
Ceiling finishing is a specialised task that requires professional skill. Squareset finishes demand careful plasterboard alignment, accurate jointing, and smooth sanding to create a perfect corner. Cornices require accurate placement and secure fixing to ensure the moulding sits neatly along the ceiling line.
Professional installation ensures the finish looks flawless and lasts for years without issues. Choosing the right combination of materials and skilled installation is the key to a successful renovation.
Ready to upgrade your ceilings with a cornice or squareset finish? Contact us today for professional advice and a free quote. Their team will guide you through the best finishing options and ensure your walls and ceilings are completed to the highest standard.
Cornice vs Squareset: Which One Should You Choose?
Both finishes offer excellent results when matched with the right interior design.
Choose cornice if you want:
- A softer and more traditional appearance
- A cost effective finishing option
- Decorative ceiling detail
- A style that hides minor wall movement
Choose squareset if you prefer:
- A sleek modern aesthetic
- Clean architectural lines
- Minimalist interior design
- Seamless ceiling transitions
For many Gold Coast homeowners, the decision ultimately comes down to personal style and the overall look they want to achieve.
Professional Ceiling Finishing for Renovations
Ceiling finishes may appear simple, but achieving a high quality result requires precision and experience. Professional installation also ensures boards are properly secured and finished. This helps achieve smooth surfaces that look great and last longer.
If you are renovating or building on the Gold Coast, working with experienced plasterers can make a significant difference to the final result. The team at Magic Mud Plastering Gold Coast provides expert plasterboard installation, cornice work, and squareset finishing tailored to modern homes. Whether you prefer decorative cornices or clean minimalist lines, skilled professionals can help bring your interior design vision to life.
FAQs
1. What is the main difference between cornice and squareset?
The main difference is the transition between the wall and ceiling. Cornices use decorative mouldings while squareset finishes create a sharp 90 degree edge with no moulding.
2. Is squareset more expensive than cornice?
Squareset finishes typically cost slightly more because they require greater precision and labour during installation.
3. Are squareset ceilings harder to maintain?
They can require more maintenance because small cracks may be more visible compared to cornices which hide minor movement.
4. Which ceiling finish is more modern?
Squareset ceilings are generally considered more modern and are commonly used in minimalist and contemporary homes.
5. Can cornice work in modern homes?
Yes. Simple cornice designs can still work well in modern homes, particularly when paired with coastal or relaxed interior styles.
6. Which option is best for renovations?
For renovations, cornices are often easier to install and can match existing features. Squareset finishes are ideal if you want to modernise the space.