Renovating a home on the Sunshine Coast can be exciting. Fresh paint, new fixtures, a modern ceiling and bright walls. But to get a lasting, quality result you need more than good design. You need proper plastering. A plaster wall repair or plasterboard repair patch done right can make the difference between a short lived upgrade and a home that stands the test of time.
In this guide you will find a full plastering checklist renovation. It will help you plan each step. It will help you avoid hidden problems. It will help you finish with smooth walls and strong ceilings.
Use this checklist whether you are doing a small refresh or a full home renovation.
Why Plastering Is a Critical Step in Any Renovation
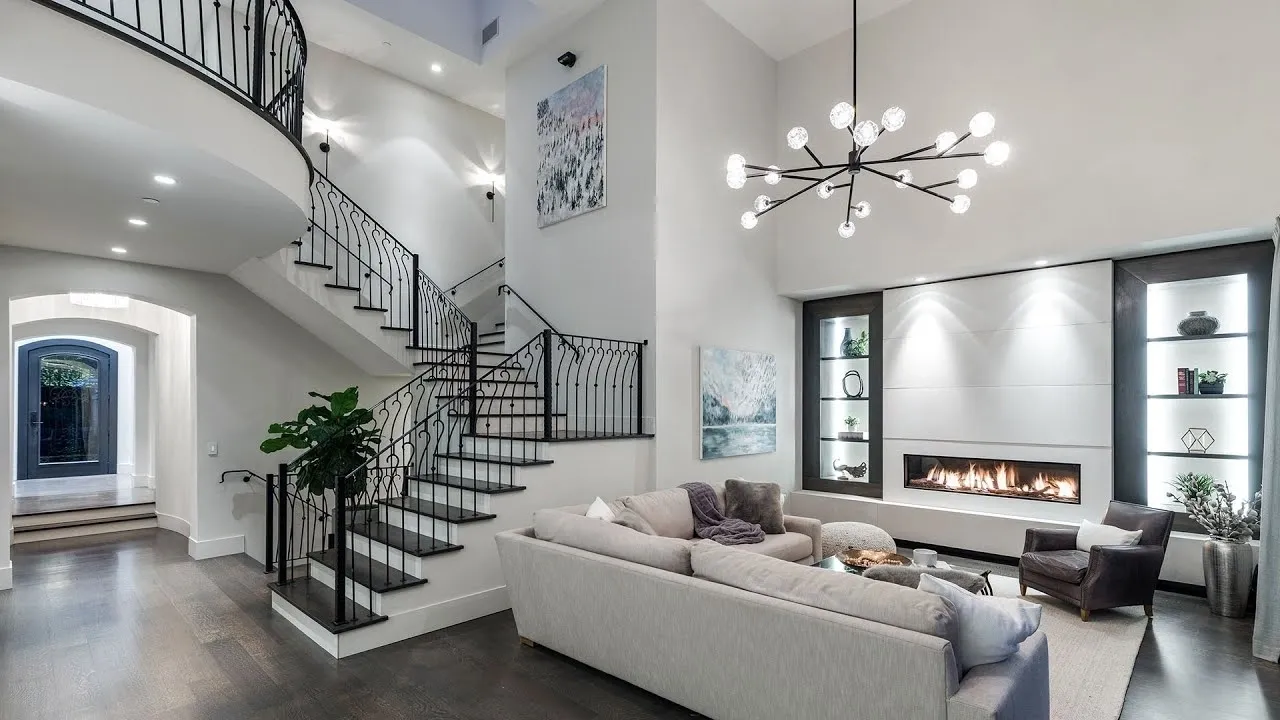
How Proper Plastering Shapes the Final Finish
Walls and ceilings are more than surfaces. They define how paint looks. They affect how light spreads in rooms. Good plastering creates smooth, even surfaces. That gives paint, wallpaper, or decorative finishes a solid base.
Bad plastering shows up later. Cracks. Uneven patches. Peeling paint. Moisture spots. These issues ruin even the best renovation ideas. If you skip proper plaster wall repair or a careful plasterboard repair patch you may end up doing extra work later.
Plastering is foundation work. It sets the tone for every other finish in your renovation.
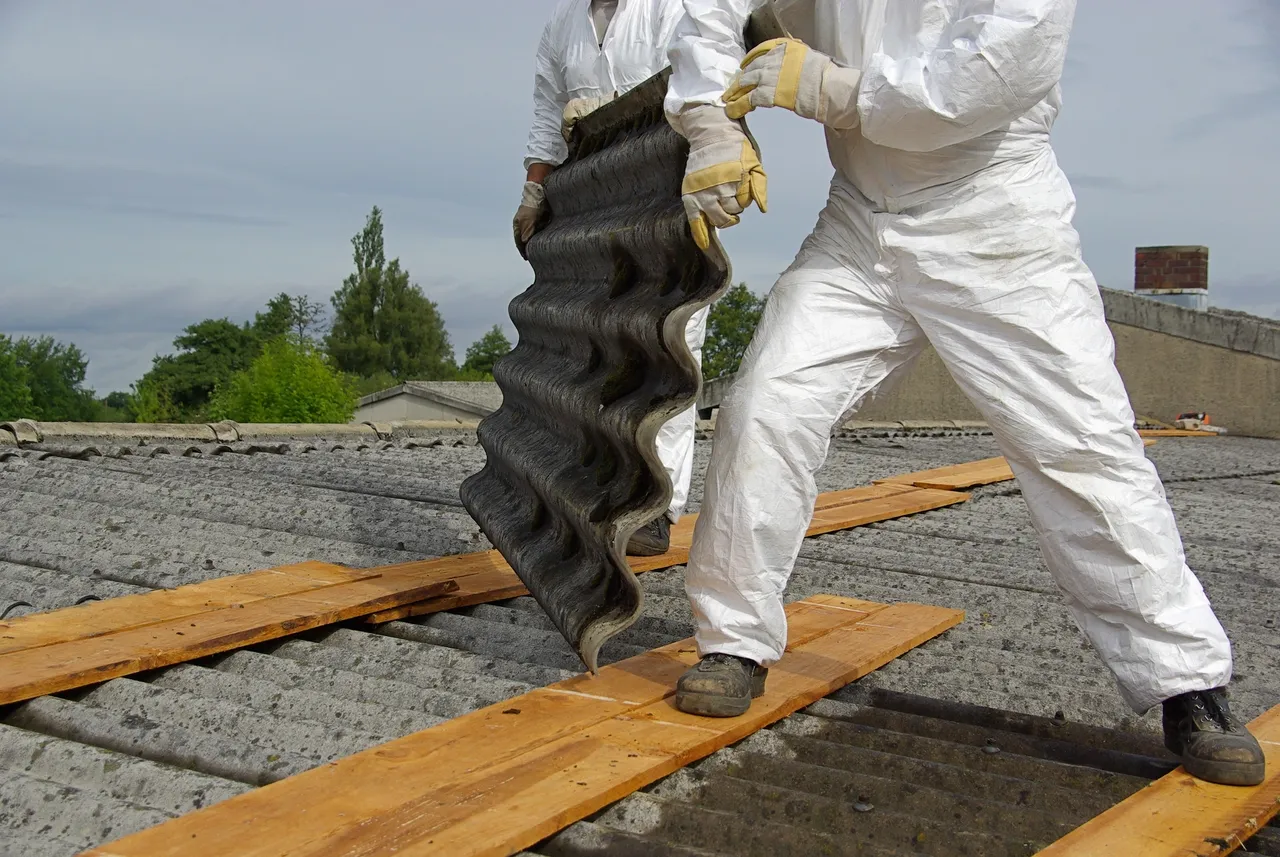
Why Sunshine Coast Homes Need Extra Moisture Control
The Sunshine Coast has a coastal climate. Humidity, salt air, frequent rain and temperature swings are part of life. These conditions affect plaster, paint, and board materials.
Moisture can seep behind walls or ceilings. Plasterboard can swell. Paint can peel. Corners may crack. That is why moisture control is vital for renovations here. Use the right materials. Seal properly. Ensure good ventilation. A well done plaster repair Sunshine Coast renovation protects your home for years.
Step 1. Assess the Current Condition of Your Walls and Ceilings
Before you begin renovation steps, take time to inspect your walls and ceilings. Renovating without assessment can hide real problems.
Identifying Moisture Problems Before Renovation Starts
Check for water stains on ceilings or walls. Look for damp patches, mould spots or musty smells. These can indicate leaks from the roof, broken gutters, or plumbing issues.
Also check behind wardrobes and heavy furniture. Sometimes moisture gathers behind hidden areas.
If moisture or damp spots exist you must fix them before any plaster repair Sunshine Coast work begins. Otherwise new plaster or paint will fail.
Checking for Cracks, Dents and Old DIY Repairs
Walk through every room. Look for cracks in walls or ceilings. Notice dents, holes, uneven surfaces. Examine corners, edges near doors and windows, and junctions of walls and ceilings.
Old DIY repairs often show rough textures, uneven patches or mismatched paint. These should be replaced or properly re-skimmed, rather than simply painted over. A fresh plasterboard repair patch or full re-skimming ensures a clean base for renovation.
Step 2. Plan Your Renovation Goals and Budget
A successful renovation starts with a clear plan. Good plastering work often represents a significant portion of your renovation cost. That is why you should plan carefully.
Cost Planning for Plastering and Materials
List all areas needing plaster repair: full walls, ceilings, small dents or holes, moisture damaged areas. Estimate area in square metres.
Ask for material estimates: plasterboard or gypsum boards, joint compounds, primer, moisture-resistant options. Include cost of fixings, screws, sealants.
Also factor in labour cost for plastering, sanding, finishing and cleanup.
Allocating Budget for Unexpected Damage
Even careful inspection may miss hidden damage. Moisture behind walls, rotten timber, mould, structural shifts might appear once old plaster is removed.
Set aside 10–20% of your plastering budget for unexpected repairs. This contingency ensures you do not run out of funds mid-renovation.
Step 3. Prepare the Space for Plastering
A successful plasterboard repair patch or full plaster lining only works when the space is prepared carefully.
Wall Preparation Essentials for a Smooth Finish
Remove old paint, wallpaper, flaking plaster or damaged cornices. If plaster is cracked, dented or uneven, remove loose sections.
Clean the surface. Remove dust, debris, old adhesive or glue. If there was mould or dampness, treat the area and ensure it is dry.
Ensure any nails, screws or protrusions are removed or hammered flush. Fill old holes with appropriate filler or patch compound.
The surface must be clean, dry and smooth before plasterboard or re-skim.
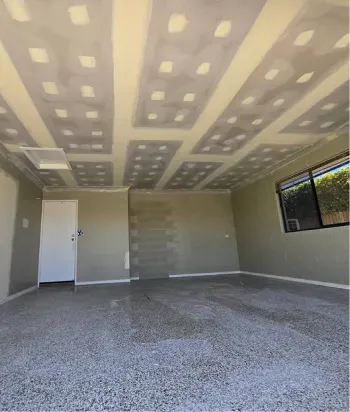
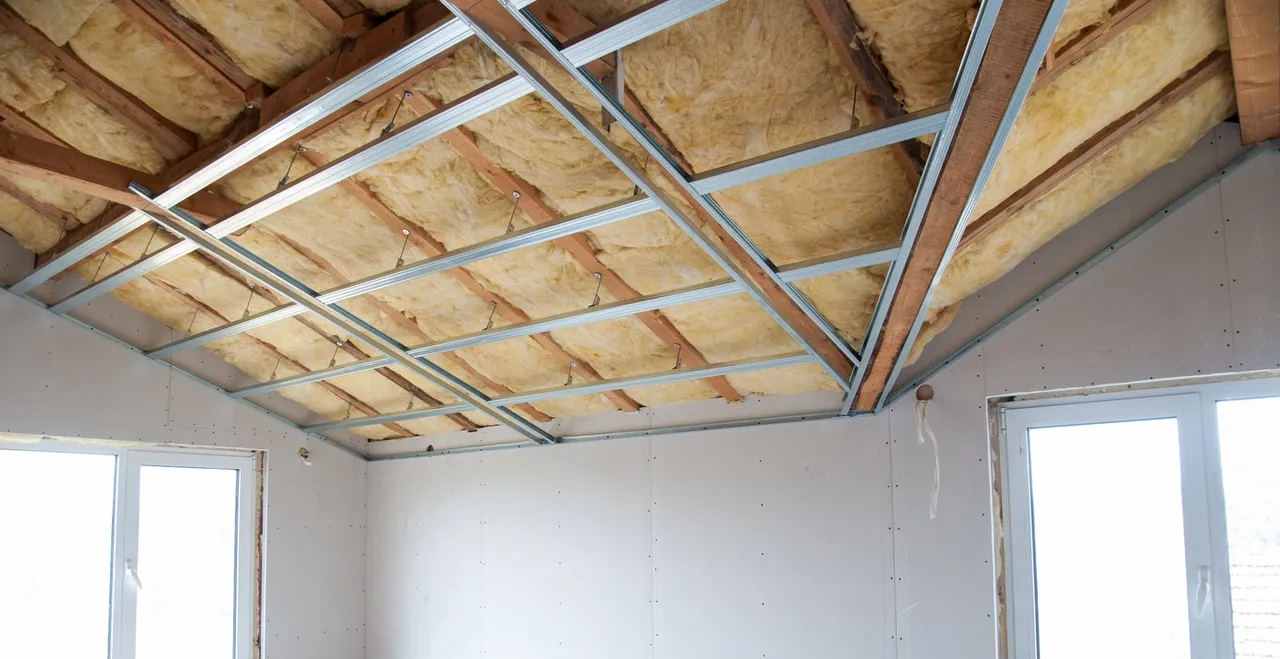
Ceiling Upgrades to Consider During Renovation
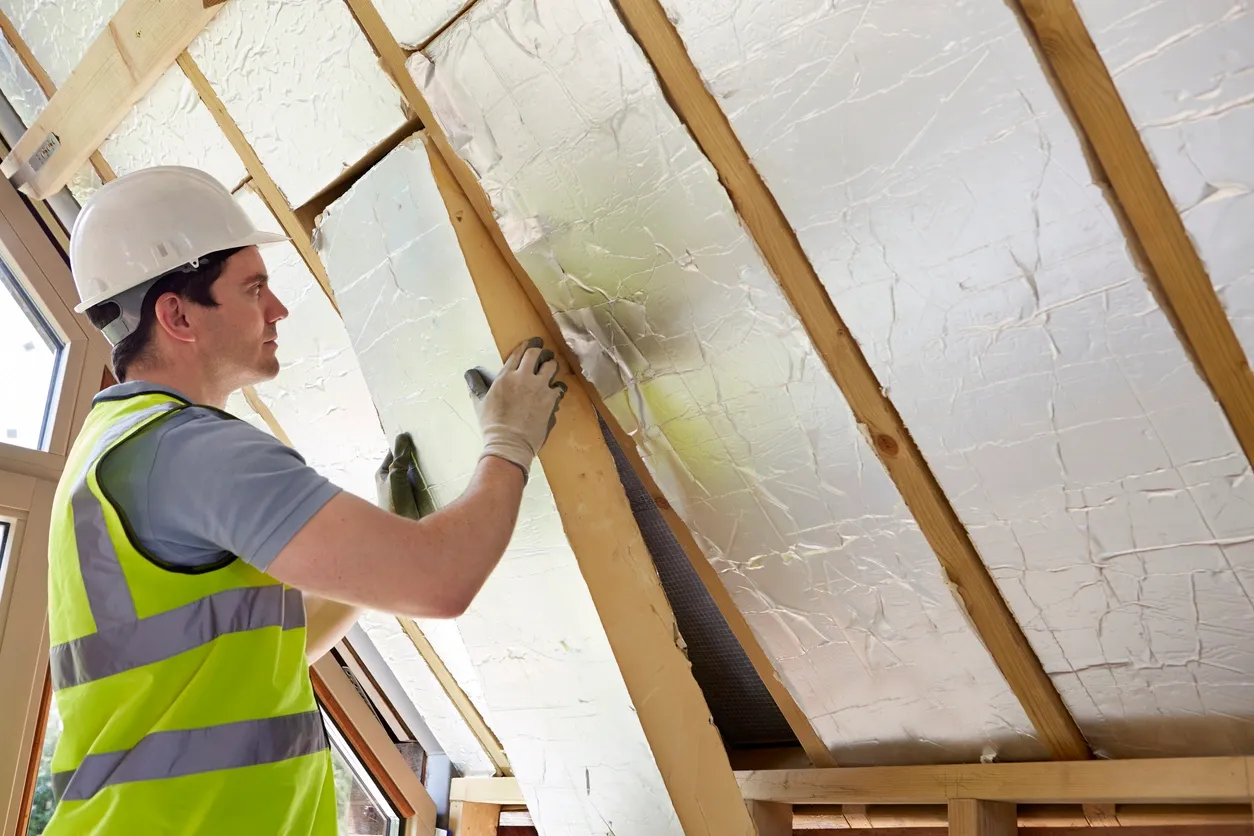
Consider whether ceilings need more than just a fresh skim or coat. Maybe you plan to upgrade: add insulation, soundproofing, or a modern finish.
If so, now is the time to open ceilings and update insulation or framing. Moisture-proof plasterboard is useful for humid homes. Consider upgrading to fire-resistant or moisture-resistant boards.
Proper preparation here saves you from redoing ceilings later.
Step 4. Choose the Right Plastering Materials and Techniques
Not all plasterboard or plaster is equal. Especially in coastal regions. Choosing the right materials and techniques impacts how long your renovation lasts.
Types of Plasterboard Used in Sunshine Coast Homes
Standard plasterboard works for dry areas. For moisture prone zones like bathrooms or kitchens choose moisture-resistant boards (also known as MR boards).
For ceilings or high humidity rooms, consider boards with added moisture and mould resistance. These help prevent peeling, warping or mould over time.
Moisture-Resistant Options for Humid Areas
Use moisture-resistant joint compounds and primers. They help plaster repair Sunshine Coast homes remain intact.
Use sealants around edges, doors, windows and corners to prevent moisture ingress.
When doing a plasterboard repair patch, use materials designed for coastal conditions. That ensures durability and long life.
Step 5. Hire the Right Plasterer for Your Renovation
A good plasterer makes the difference between a quality finish and a patchy result. Use careful selection to ensure you get the best.
What to Look for When Choosing a Plasterer
Look for professionals experienced in home renovations, not just small repairs. Ask if they have worked on plasterboard repair patches, full re-skims, moisture-prone homes, and coastal conditions.
Check for good reviews, photos of prior work, and evidence of careful finishing, painting and sealing.
Ensure they understand moisture control, correct sanding, priming, and cleaning after work.
Questions to Ask Before Hiring
Ask whether they use moisture-resistant plasterboard and primers for humid environments. Ask about their process: do they remove old plaster? Do they treat mould or damp? Do they use sealants?
Also ask for a cost breakdown: materials, labour, clean-up. And ask about a schedule and time needed.
Ensure they include a warranty or guarantee for their work.
Step 6. The Plastering Process: What Happens Step by Step
Once you hire a plasterer, here is what to expect. This ensures transparency and helps you plan accordingly.
Surface Preparation and Repair Work
Old damaged plaster, peeling paint, leftover nails, moisture stains are removed. Any mould or damp area is treated. Old sealant or caulk is removed and the area cleaned.
Walls and ceilings are checked again for moisture. Surfaces allowed to dry. Any dents or holes are filled or patched. A full plaster repair Sunshine Coast style focuses on surface integrity before new plaster.
Installing New Plasterboard or Re-skimming Existing Surfaces
If walls or ceilings are damaged beyond repair, new plasterboard is installed. This may include moisture-resistant or mould-resistant boards.
If existing plaster is in good shape but rough or uneven, they might re-skim using joint compound or a thin render coat. This evens out the surface and creates a smooth base for painting.
In some cases a plasterboard repair patch fills only damaged areas, keeping the rest of the wall intact.
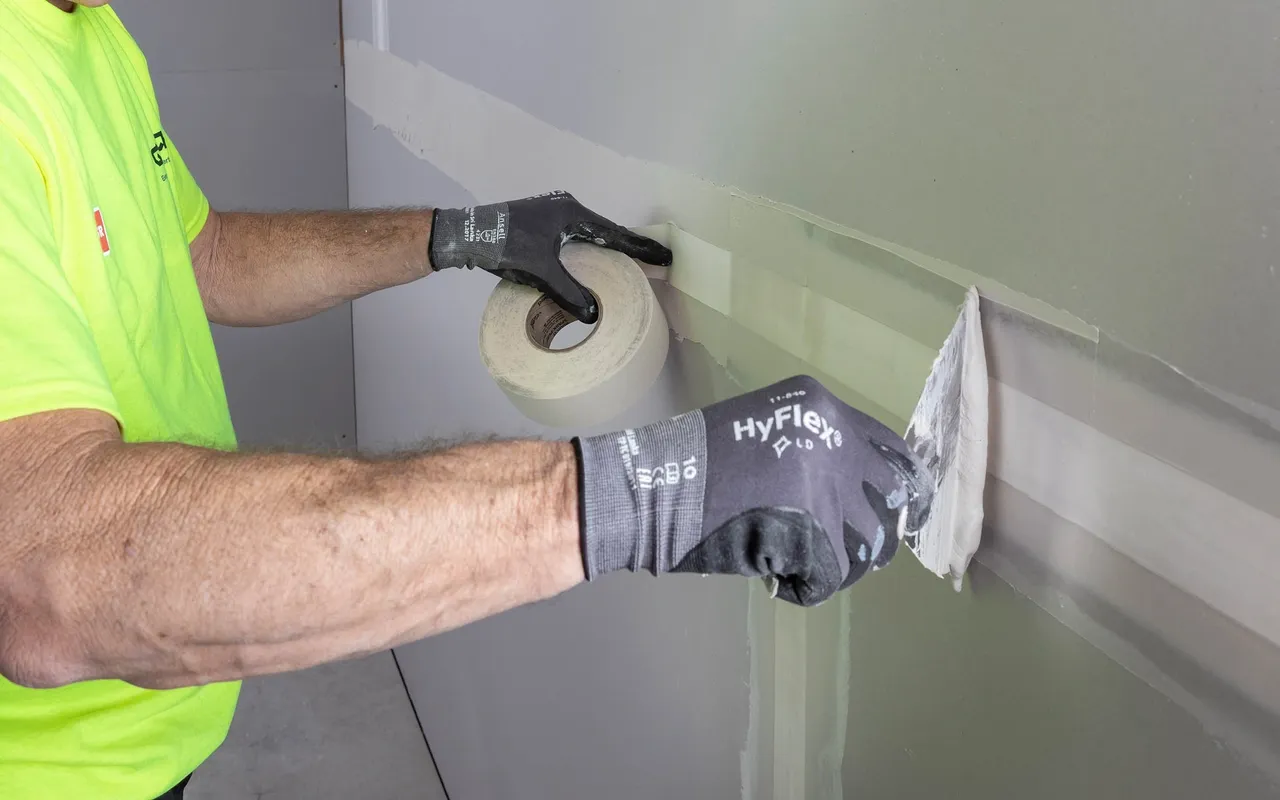
Sanding, Finishing and Quality Checks
Once plaster or patch dries, the surface is sanded smooth. Corners, edges, joints are checked. Sealants are applied around windows, doors, and corners to prevent moisture ingress.
Then a primer suitable for coastal weather is applied. After that paint or final finish goes on. Before handover you should inspect all surfaces under good light. Look for uneven patches, rough areas, missed spots.
Step 7. Post Plastering: Drying, Curing and Painting Prep
After plastering outdoor or indoor rooms you cannot rush into painting or decorating. The material needs proper drying.
How Long Plaster Takes to Dry on the Sunshine Coast
Due to humidity give plaster and plasterboard repair patch extra drying time. Typically allow at least 5–7 days of dry weather or controlled indoor ventilation.
Use fans, dehumidifiers or open windows if possible. Do not paint or apply finishes until plaster is fully dry to avoid cracking or peeling later.
Best Practices for Painting Over Fresh Plaster
Use a moisture-resistant primer before painting. This seals pores and helps paint adhere better. Use quality paint suited for coastal conditions or high humidity.
Ensure windows and doors are closed until paint cures. Avoid heavy humidity or moisture in first 24–48 hours after painting.
Step 8. Preventing Moisture and Future Wall Damage
A proper plastering checklist renovation does not end at painting. Long term maintenance matters.
Ventilation Tips for Coastal Renovations
Ensure bathrooms and kitchens have exhaust fans. Install vents or air bricks in humid rooms. Use ceiling fans to improve air circulation.
If ventilation is limited, consider a dehumidifier. This helps control moisture which otherwise damages plaster or paint over time.
Waterproofing and Long-Term Maintenance
Seal external walls, windows and doors properly. Use quality weather-resistant sealants. Inspect roofs, gutters and downpipes regularly to avoid leaks.
Repaint or re-seal coatings every few years. Inspect for early signs of dampness or mould. Early intervention avoids costly plaster repair Sunshine Coast projects later.
Final Sunshine Coast Renovation Tips
Scheduling Work in the Right Order
Plan your renovation in logical order. First fix structural issues, moisture problems, plumbing or roof leaks. Then do plasterboard repair patch or re-plaster before painting or decorating.
Do ceiling upgrades and insulation before final plaster and paint. Do windows and doors installation early so sealants can cure well.
This order prevents redoing plaster or paint because of later changes.
Ensuring Your Finished Walls and Ceilings Last for Years
Use quality materials suited for coastal climate. Hire experienced professionals who understand moisture control. Allow proper drying and curing time.
Maintain good ventilation and moisture prevention long term. This helps your walls and ceilings stay smooth, strong and beautiful.
Why Use Magic Mud Plastering for Your Renovation
If you are renovating your Sunshine Coast home and want smooth, long-lasting walls and ceilings trust Magic Mud Plastering. We specialise in plasterboard repair patches, full re-skims, moisture-resistant plastering and plaster repair Sunshine Coast-wide.
Our team plans renovation steps carefully. We assess existing damage. We prepare surfaces thoroughly. We use materials suited to the coastal climate. We follow the full plastering checklist renovation guide above so your renovation looks great and lasts.
We offer fair cost planning, transparent quotes, and reliable scheduling. Reach out to us for a free inspection and quote. Protect your walls. Secure your ceilings. Make your renovation a long-term investment.
Conclusion
A renovation is more than paint and decor. It is about strong foundations. Smooth walls. Secure ceilings. Especially on the Sunshine Coast where humidity, moisture and coastal weather challenge building materials.
Use this plastering checklist renovation guide to plan carefully. Start with assessment. Prepare surfaces. Choose quality materials. Hire the right plasterer. Follow each step methodically from surface prep to finishing. Then maintain good ventilation and moisture control.
With careful planning and skilled work your renovation will withstand time. Your walls will stay smooth. Your ceilings will stay strong. Your home will stay beautiful.
Ready to transform your Sunshine Coast home with high quality plaster repairs and a solid finish? Contact Us today for a free inspection and quote. Let us help make your renovation seamless, durable and beautiful.
Frequently Asked Questions
Q: How much extra does moisture-resistant plasterboard cost compared to standard boards?
A: It depends on the supplier and size. On Sunshine Coast expect a small premium, often 5–15 percent more than standard plasterboard. For bathrooms, kitchens or coastal rooms the extra cost is worth the added durability.
Q: Can I do a simple plasterboard repair patch myself?
A: You can do small patch repairs if you have experience. But for extensive repairs, moisture issues or entire wall refinishing it is better to hire professionals. Mistakes in patching can cause uneven surfaces, cracking or peeling paint later.
Q: How long does a full plaster-and-paint renovation take per room?
A: For an average size room, preparation and plastering can take 2–3 days. Drying and curing may require 5–7 days depending on humidity. Painting and finishing add 1–2 days. Total per room often spans about one to two weeks.
Q: What happens if I paint over new plaster too soon?
A: Painting too soon traps moisture inside. This can lead to cracks, peeling or damp patches later. Always wait until the plaster is fully dry and cured before priming and painting.
Q: How often should I inspect walls and ceilings for moisture or damage after renovation?
A: Once every six months is good practice. Also check after heavy storms or extended rain periods. Early detection of damp or cracks can save expensive repairs down the line.